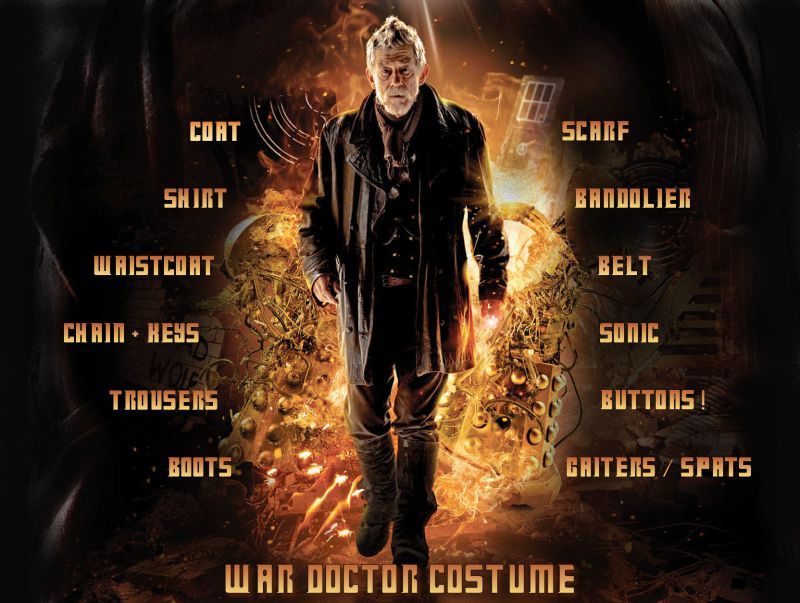
Bandolier
This is the prop that really says WAR Doctor.
I've looked at every version I could find off the web and (being a bit of a stickler for detail) none of 'em really seem to make it.
I've even step-framed the McGann Doctor video to see if there's any detail in there (not really) and looked at every hi-res photo I can find.
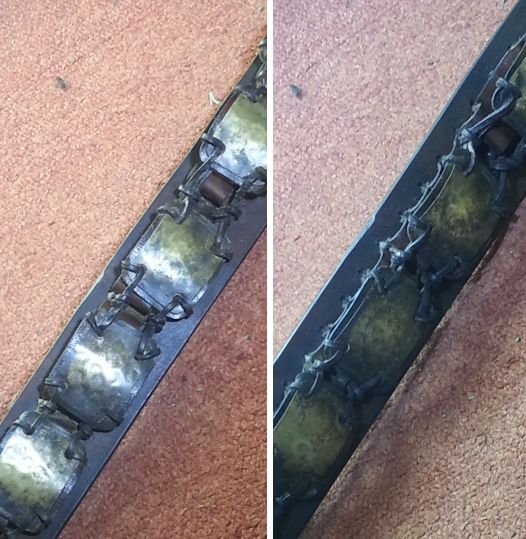
Here's close-ups of the best of them: (the last picture is my bandolier for comparison)
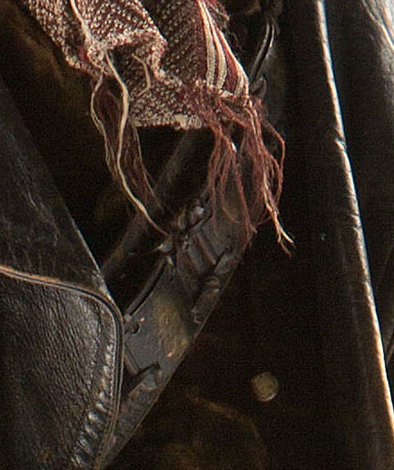
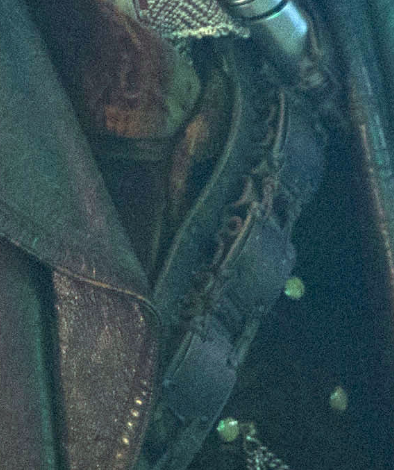
Several things to notice:
Given the size of the sonic, I reckon the belt is for .357 which is
really handy 'cos I just happen to have a .357 ammo belt from my Western Action Shooting days!
Doesn't look like a shotgun cartridge size.
Each brass plate thing spans 4 bullet slots and seem to be tied on with leather strap somehow.
You can see from the 3rd picture that the straps don't seem to go through the bullet slots but the straps loop twice thru each of the 4 holes in the corner of each plate.
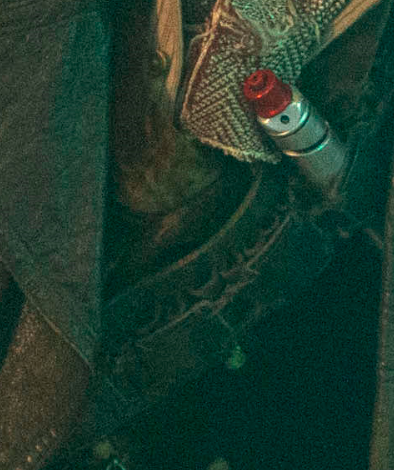
I also compared the size of the sonic to the plates and ended up deciding they were 40mm x 30mm
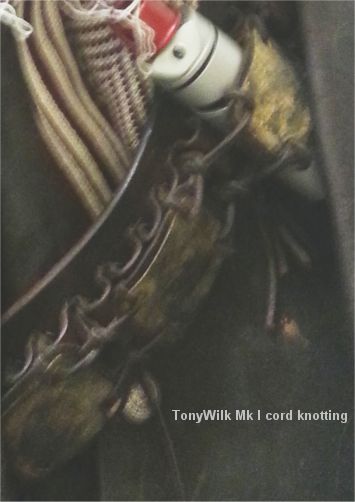
I spent AGES trying lots of different ways of tying the plates on, taking a photo and than comparing them. In the end, I think I've gotten pretty close... the 5th picture above shows my preliminary bandolier.
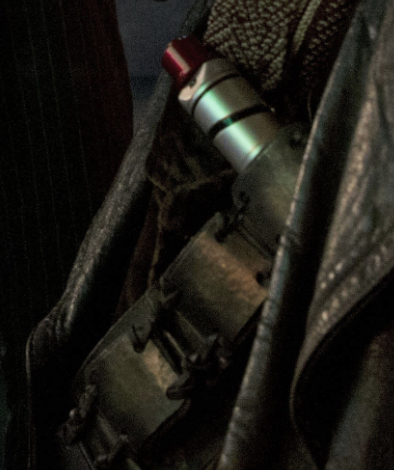
Note that the plate where the sonic fits is a bit different; the straps are a bit longer and underneath one of the bullet loops is unstitched
and PVA glued flat.
Irritatingly the official "Other Doctor Sonic" has a silver pip on top of the red bit whereas the actual prop does not.
Note if you're cosplaying... stuff the sonic into the bandolier from underneath - it's easier than trying to shove it in from the top and stops it activating.
Making the plates
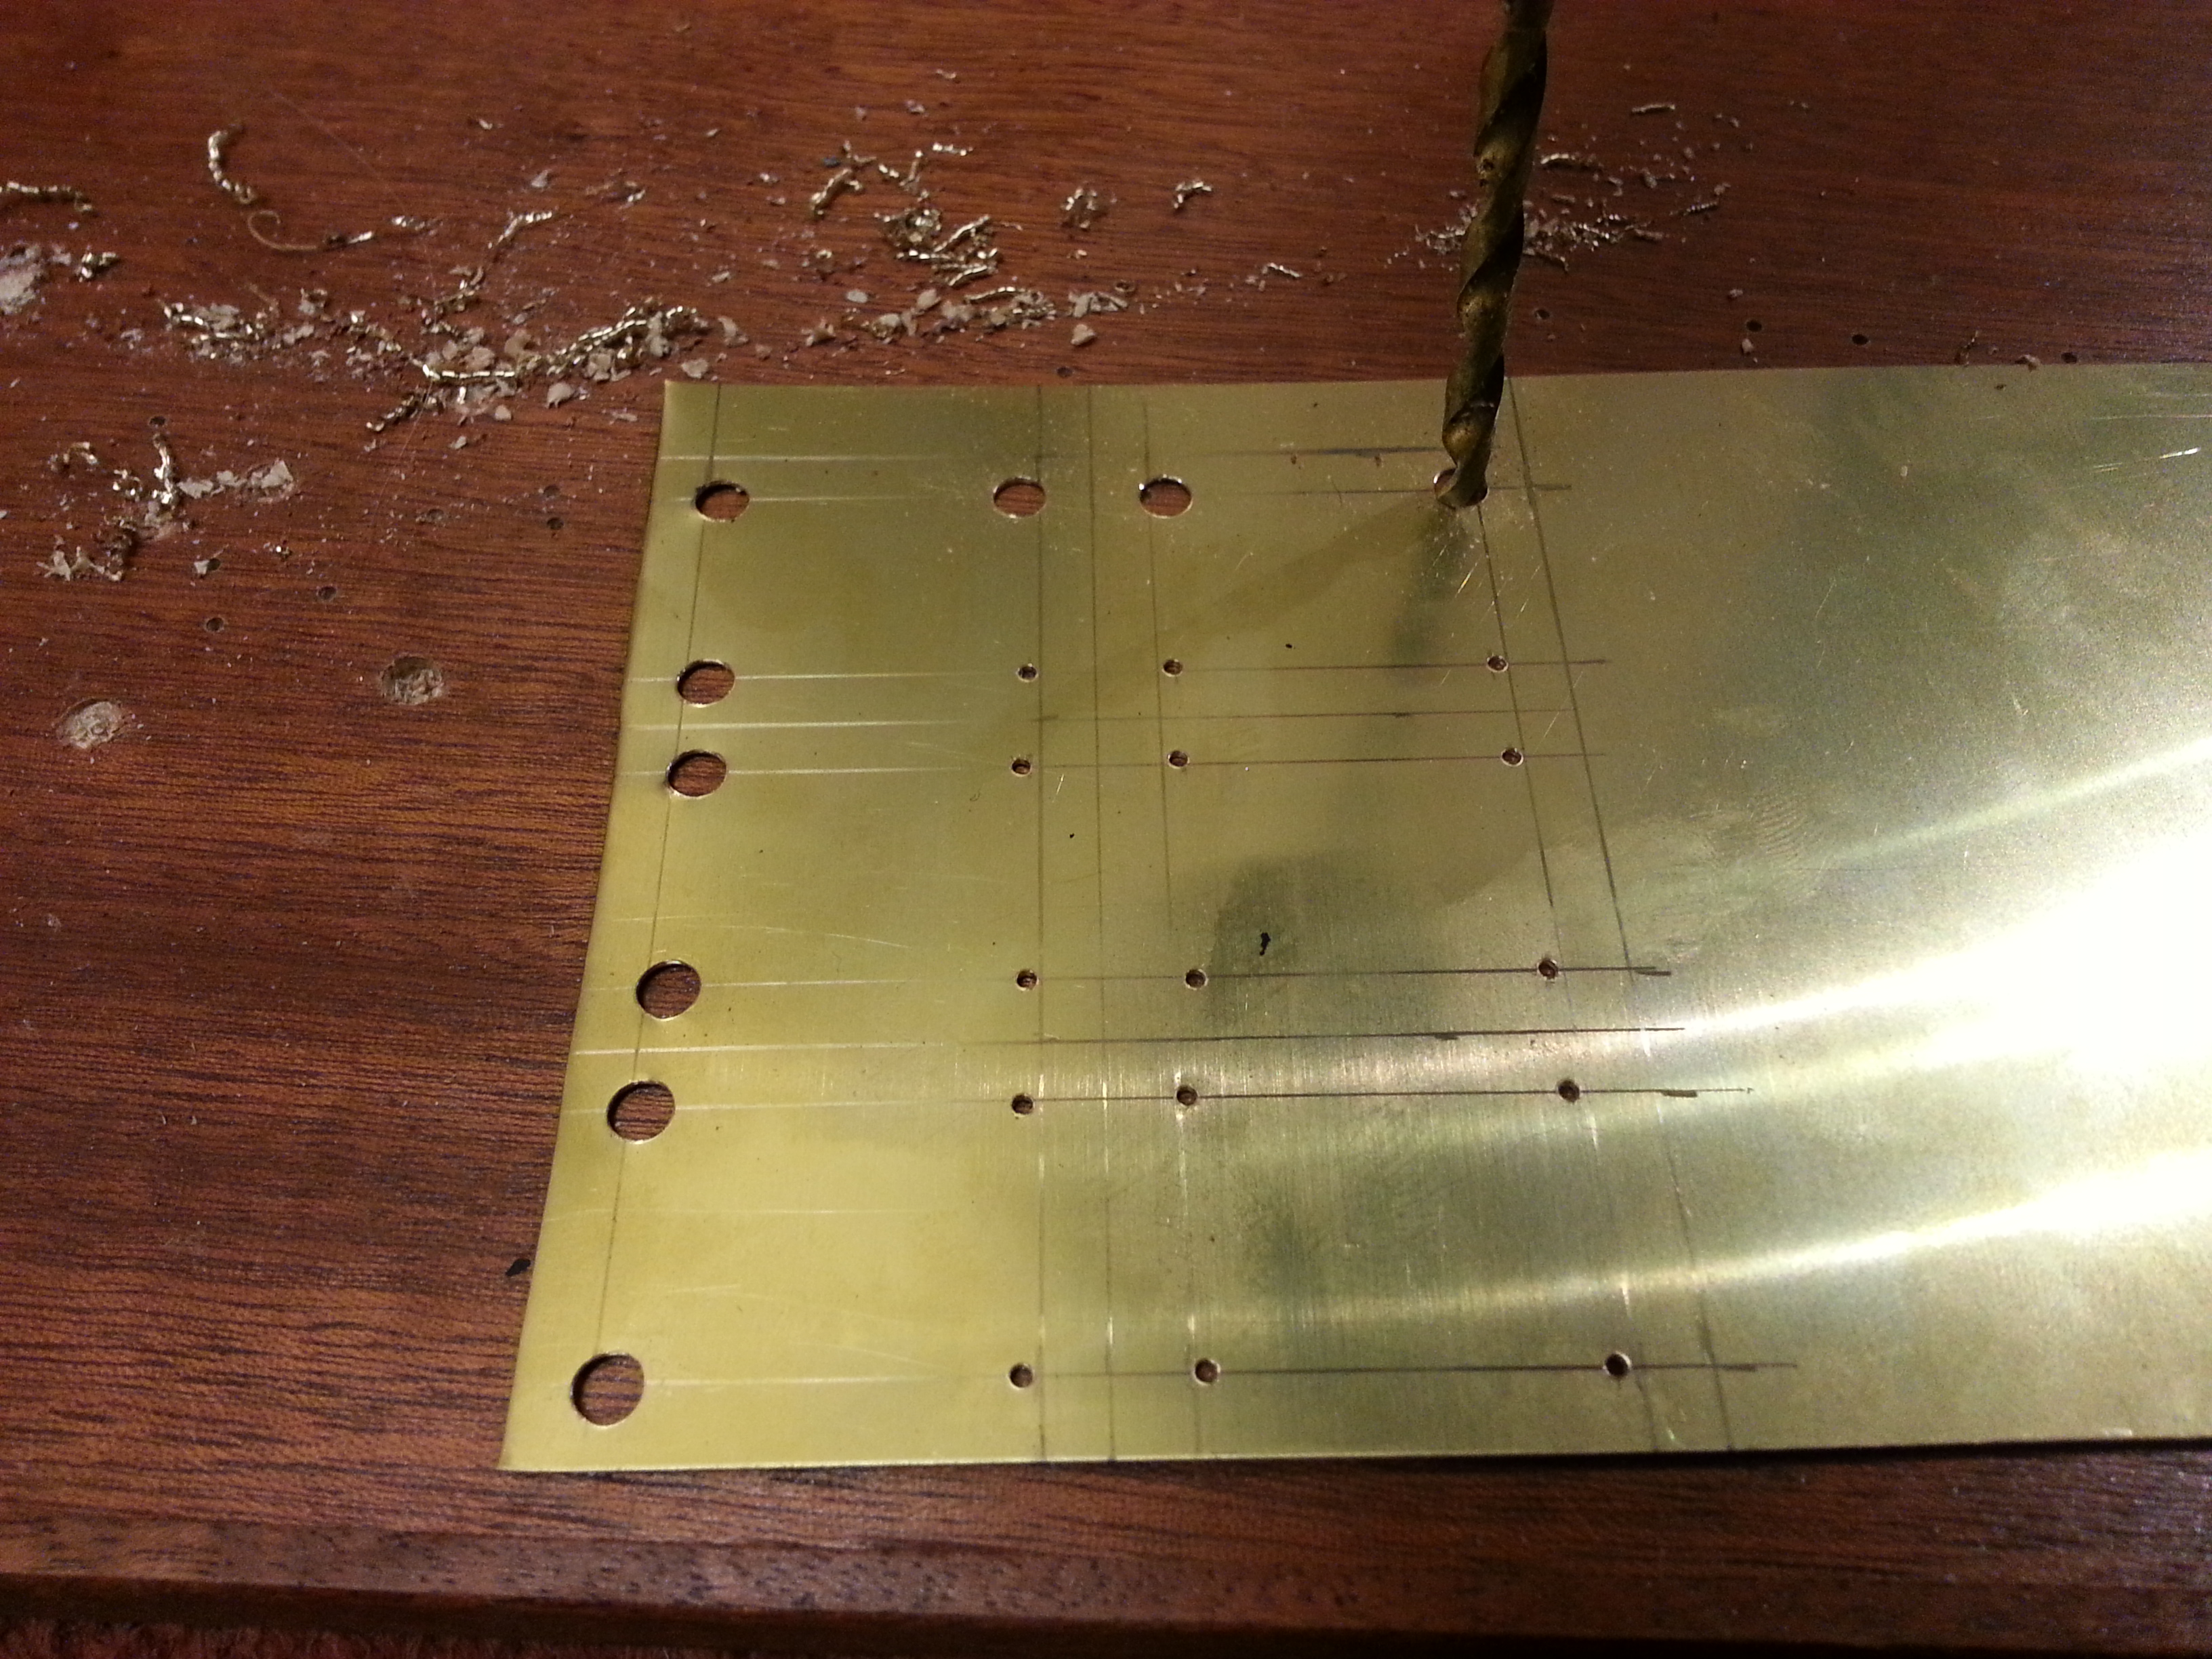
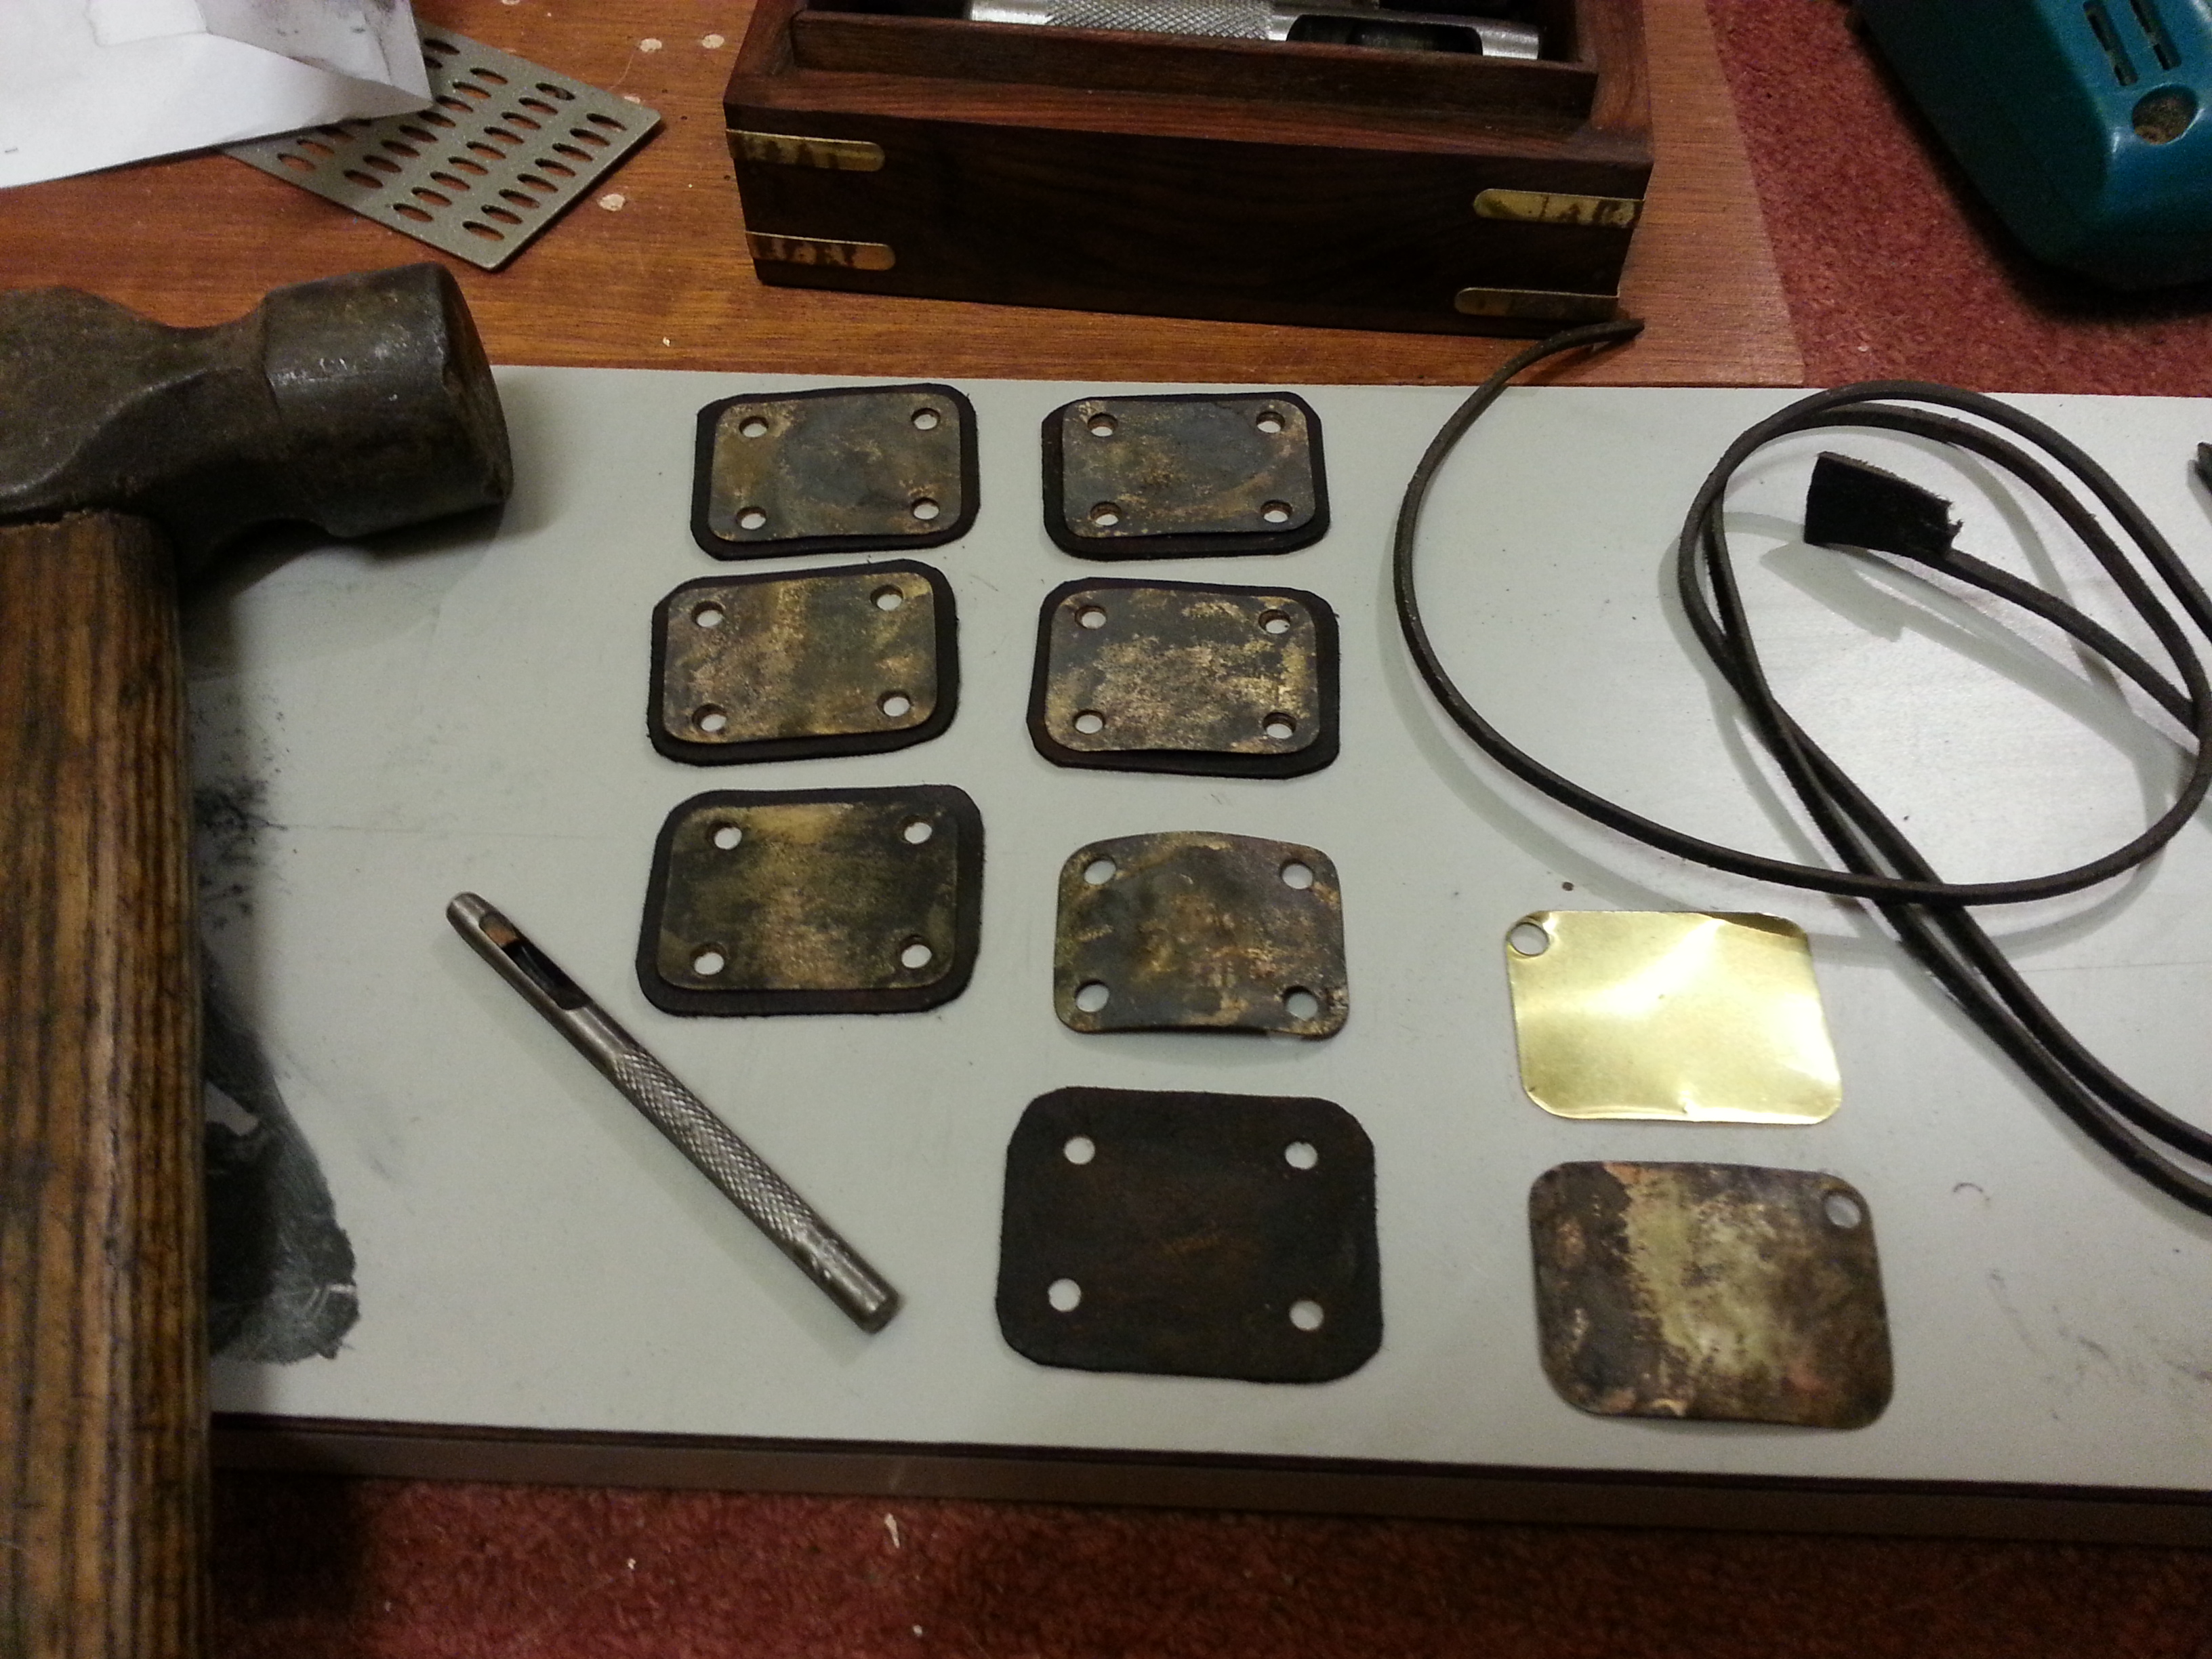
I got hold of some 0.5mm brass sheet (good old eBay again), marked it up and drilled some 2mm holes for starters
then drilled them out to 5mm. Got to be
really slow and careful here otherwise you just rip up the brass.
I used a cordless drill, very slow speed and really light. The thin sheet cuts out with ordinary scissors. Worked out fine.
I heated them up to red heat and generally mucked about with them (actually I etched 'em a bit in Nitric acid
and grew a tiny bit of copper on with copper sulfate then cooked them with a blowtorch).
Added some dimples by tapping a bit of rounded-off wooden dowel with a hammer all over the plates.
Cut out some tatty thin leather from an old wallet and punched some 4mm holes in with a punch.
Strapping the plates on
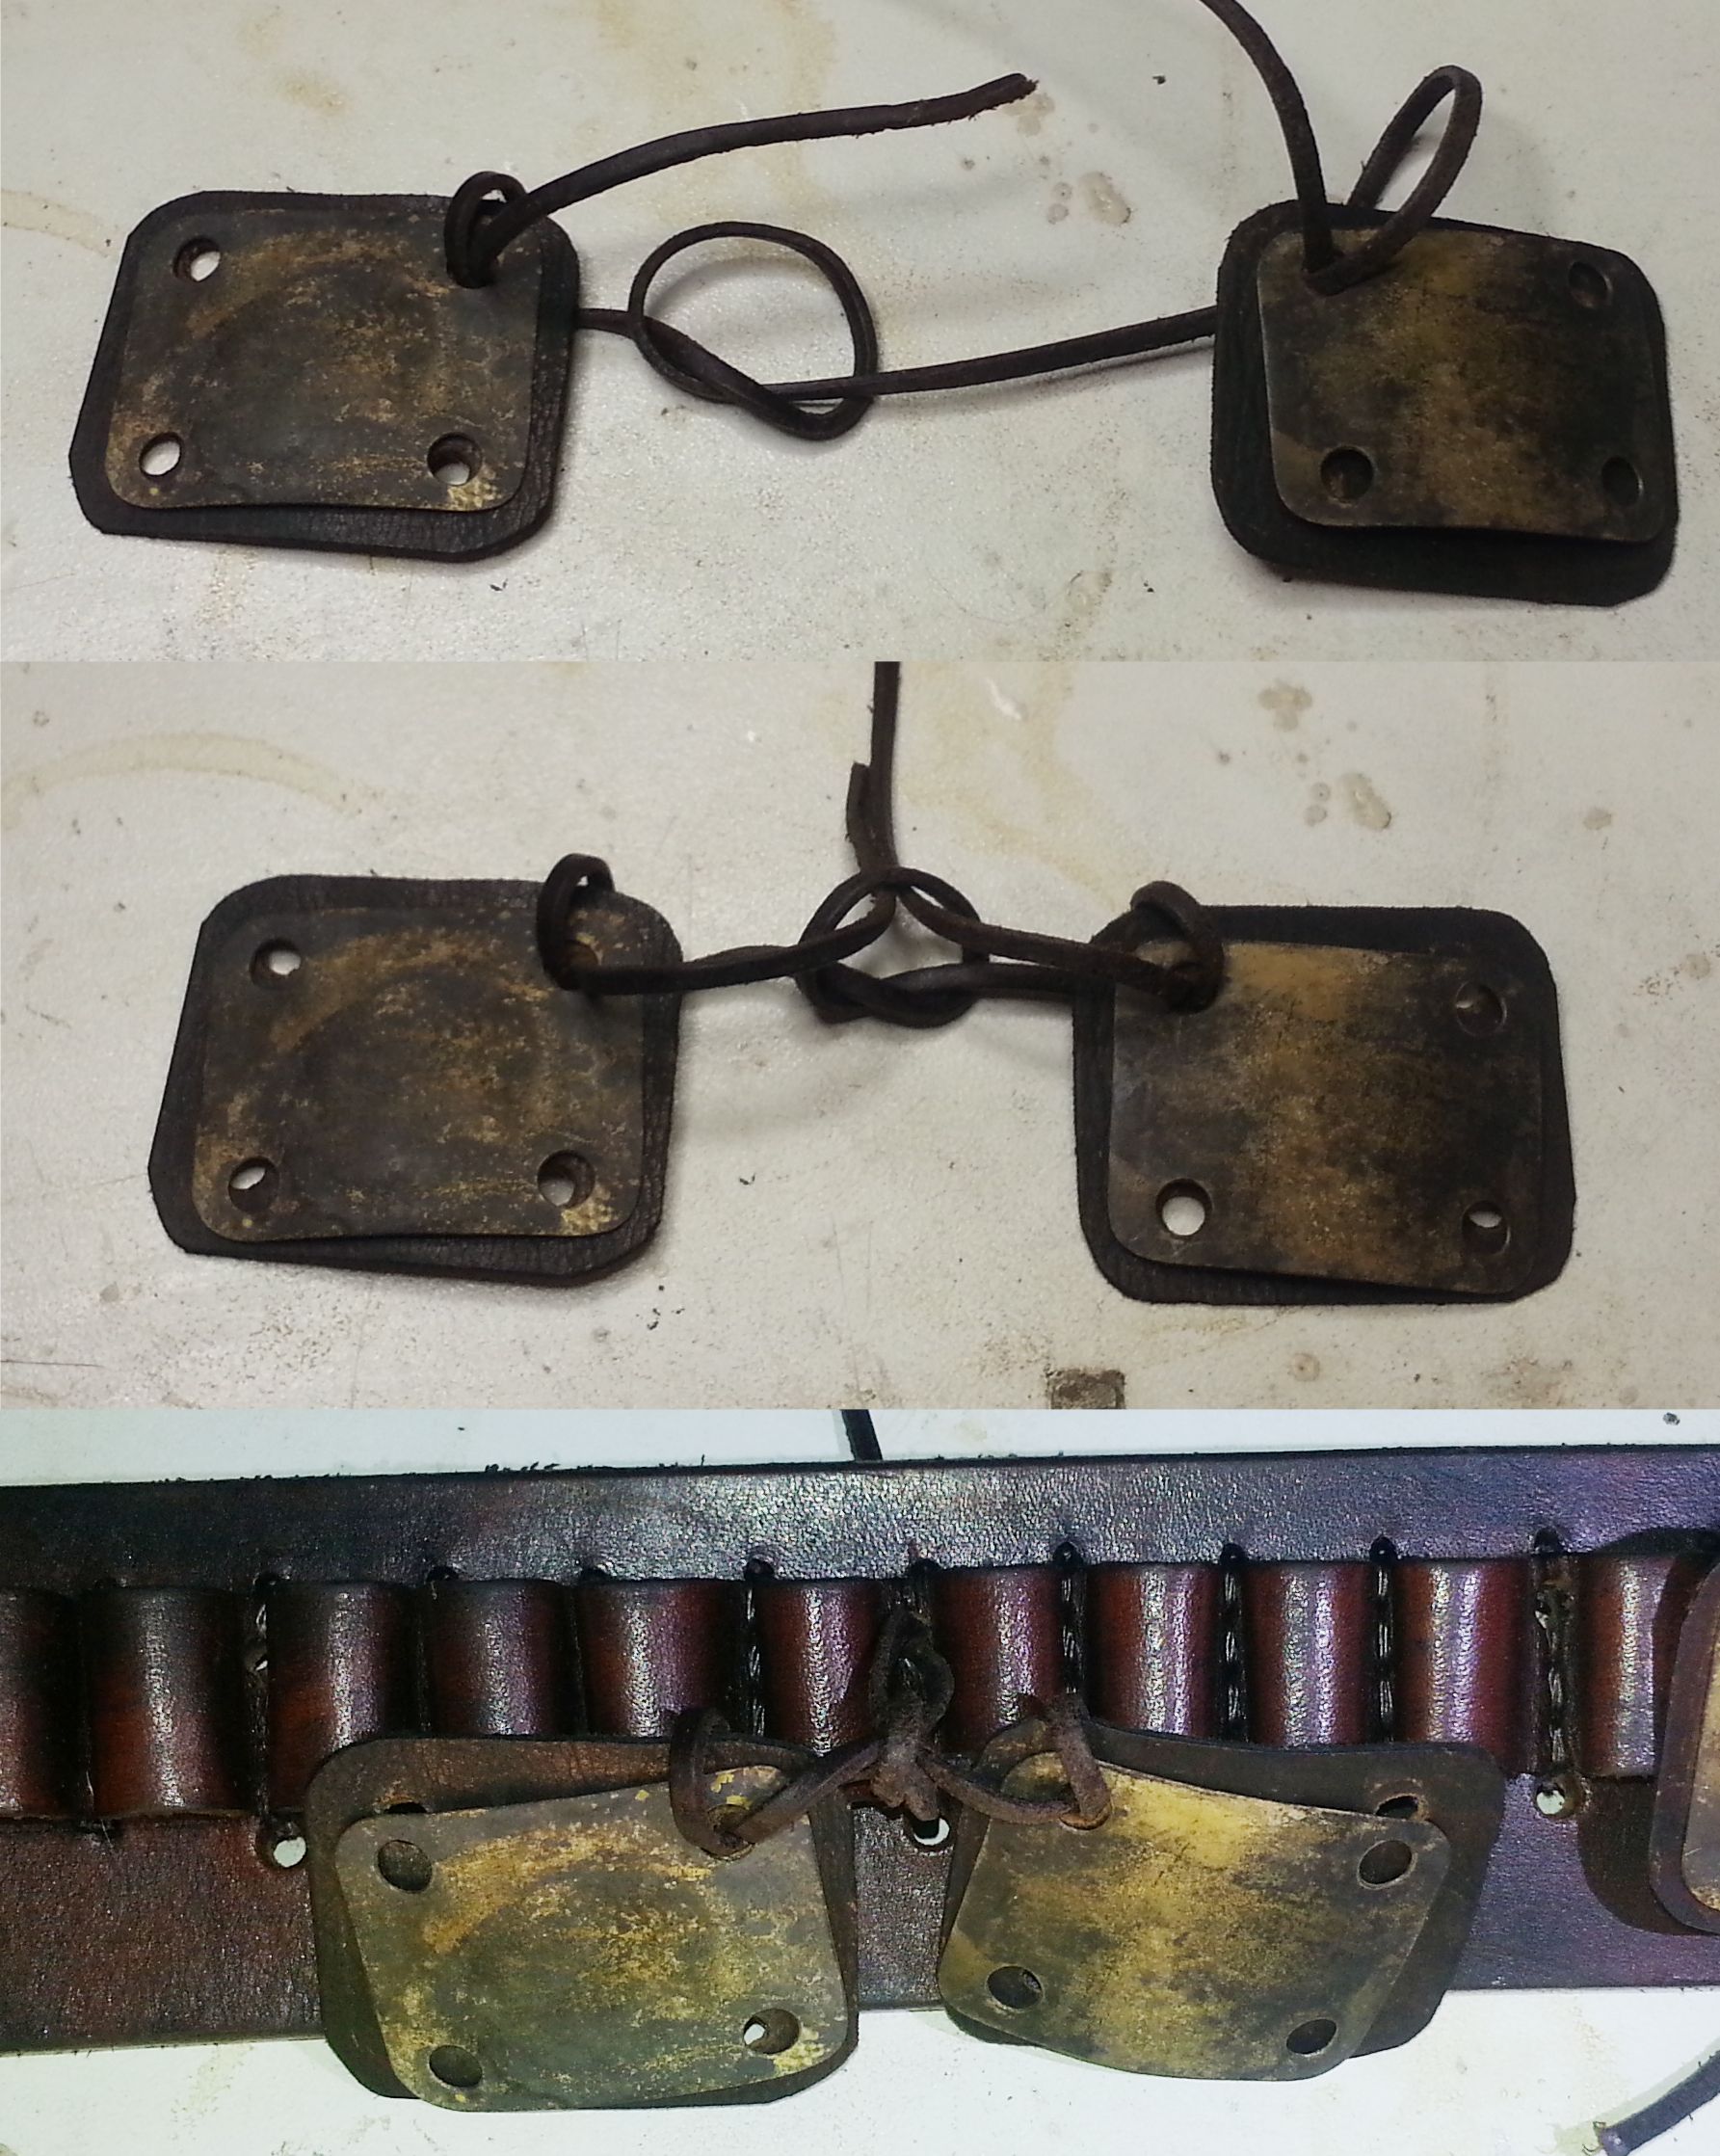
This shows how I threaded the cord - the two ends go thru the knot between two plates and are passed through
a hole punched in the belt between two bullet loops. When top and bottom holes have been done there's 4 ends of leather strap on the back side of the belt
- you can pull these to tighten up the plates ans then knot 'em together.
Without seeing the real thing, I'm still not sure how shiny the plate things should be.
Some pics show 'em almost black whereas they seem to gleam in others like the 'Moment' picture here:
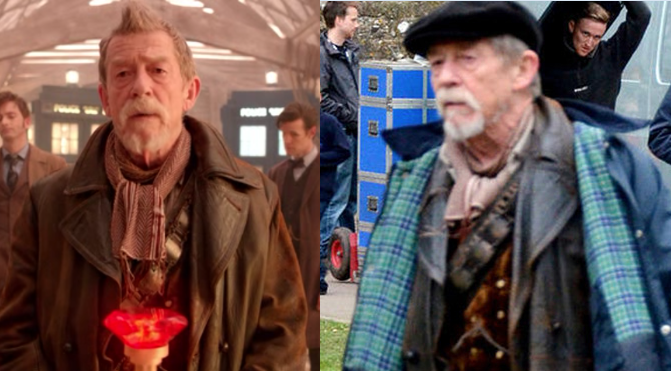
however, I think that's the lighting - I'm aiming at the second natural-light picture of John Hurt during filming
Finished Belt/Bandolier
Here's the finished bandolier with belt and coupling strap...
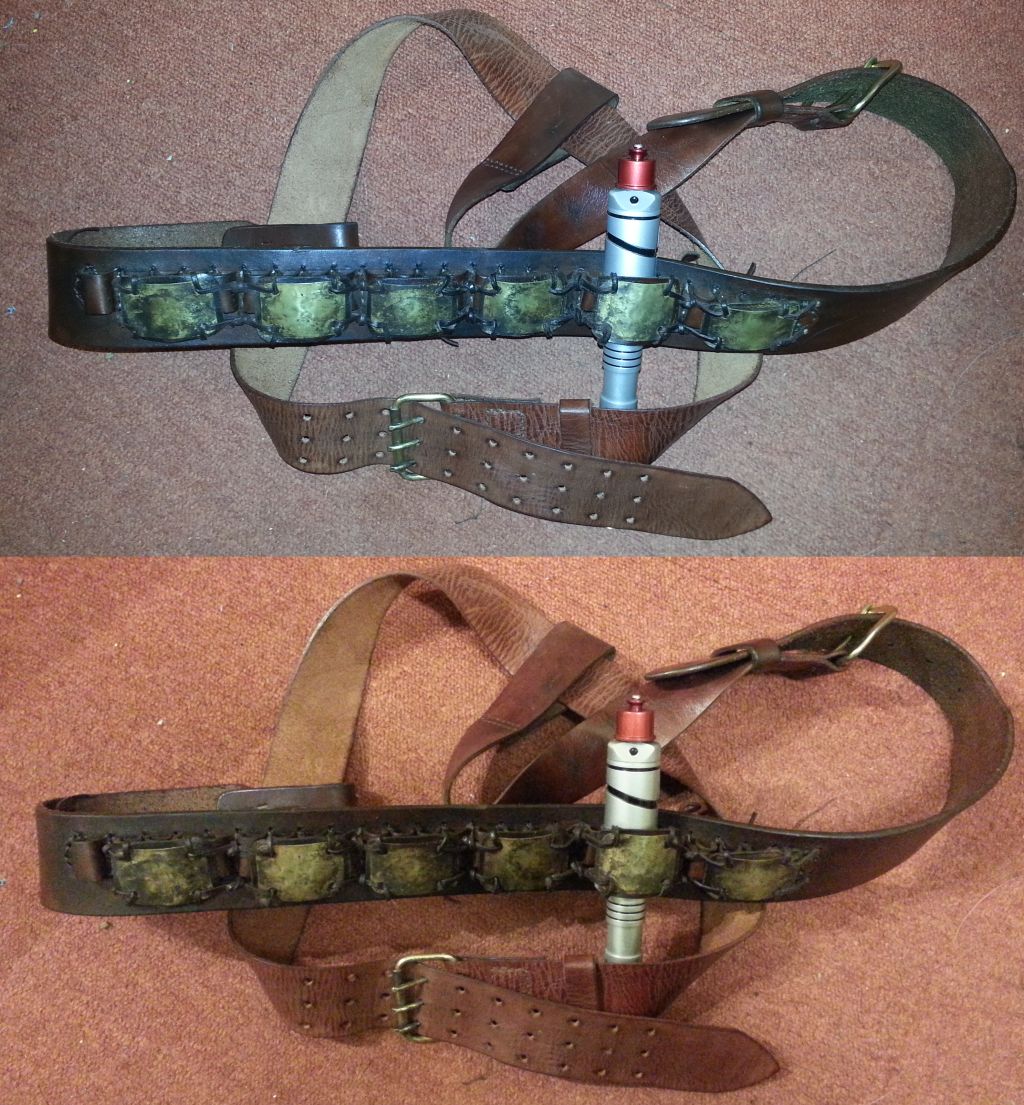
 (click for larger image)
Pictures taken with flash and in LED room lighting.
The pictures on the right are a simple attempt at reproducing the head-on and diffuse lighting in the above 2 pictures of John Hurt.
Strapping the belt on
The original bandolier was for wearing on the waist.
I took the buckle off and used the loop where the buckle was to attach to the belt.
I then made another piece of strap with a loop on one end for the belt to go thru
and put the buckle on the other end to attach to the bandolier.
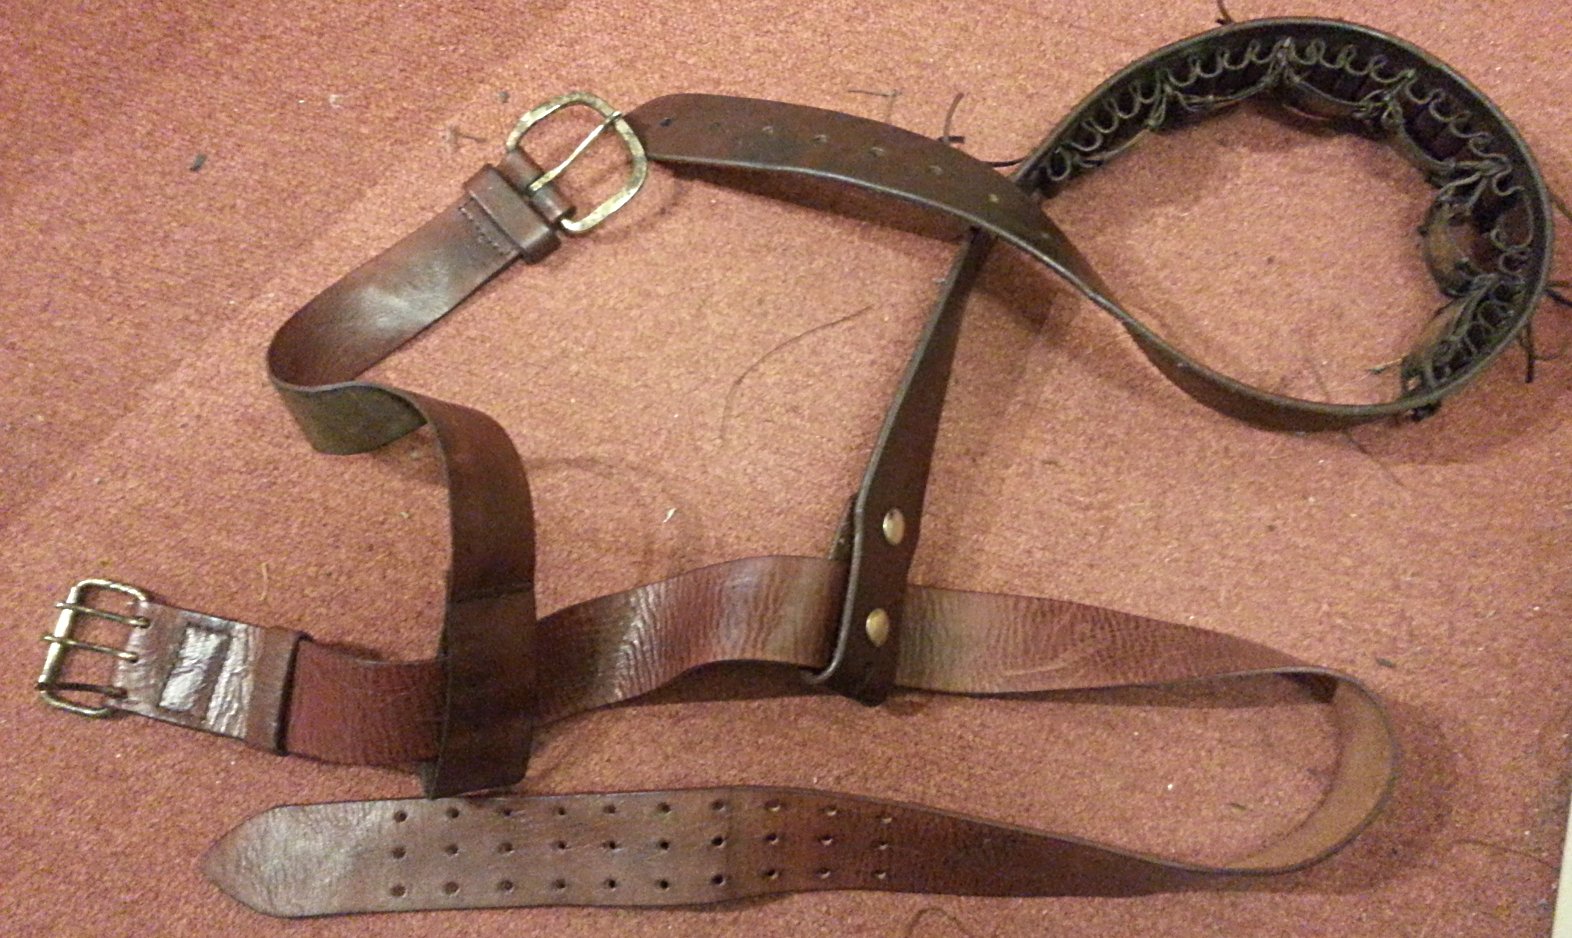
Belt, strap and bandolier showing how they join up
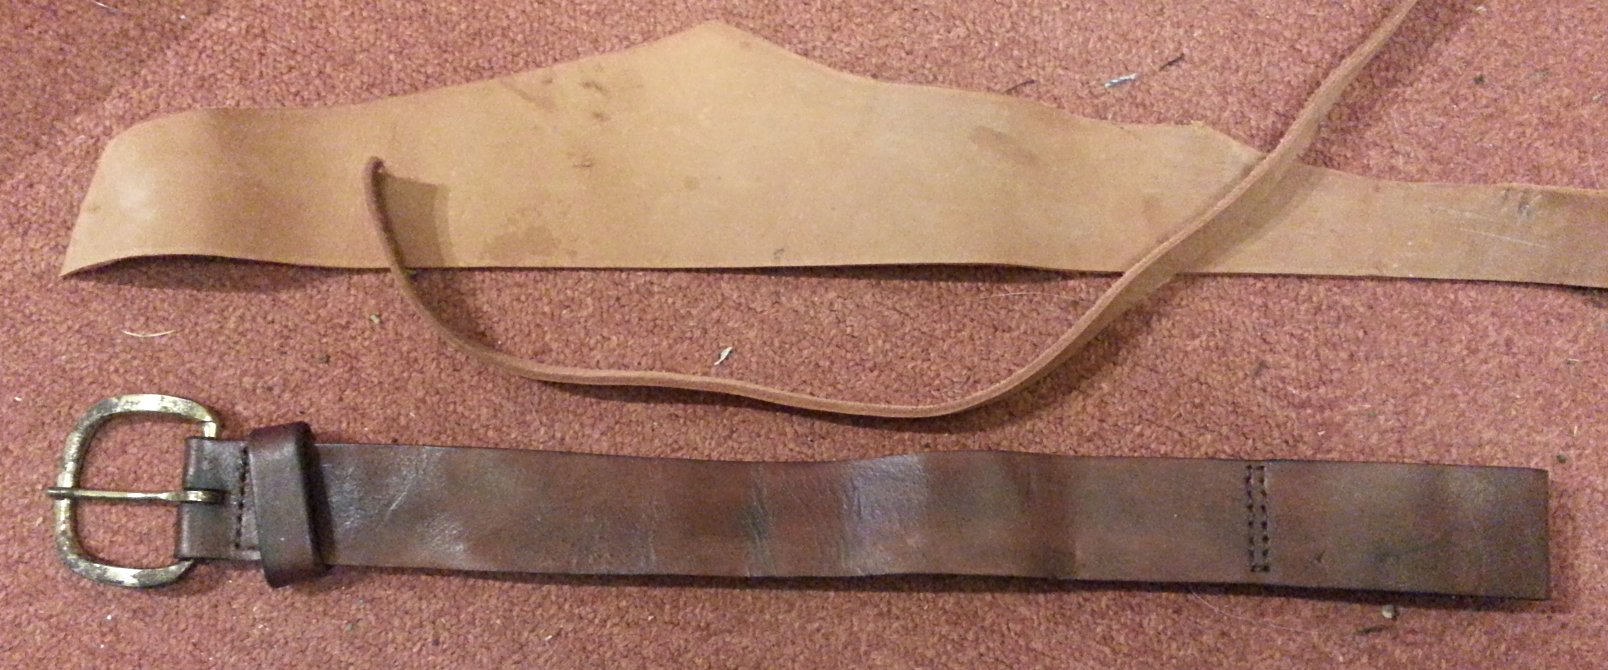
The finished strap and bits of the leather I made it from
Also see:
how I made the belt (and how the leather was coloured/aged)