Making a Belt, Buckle and finishing the leather
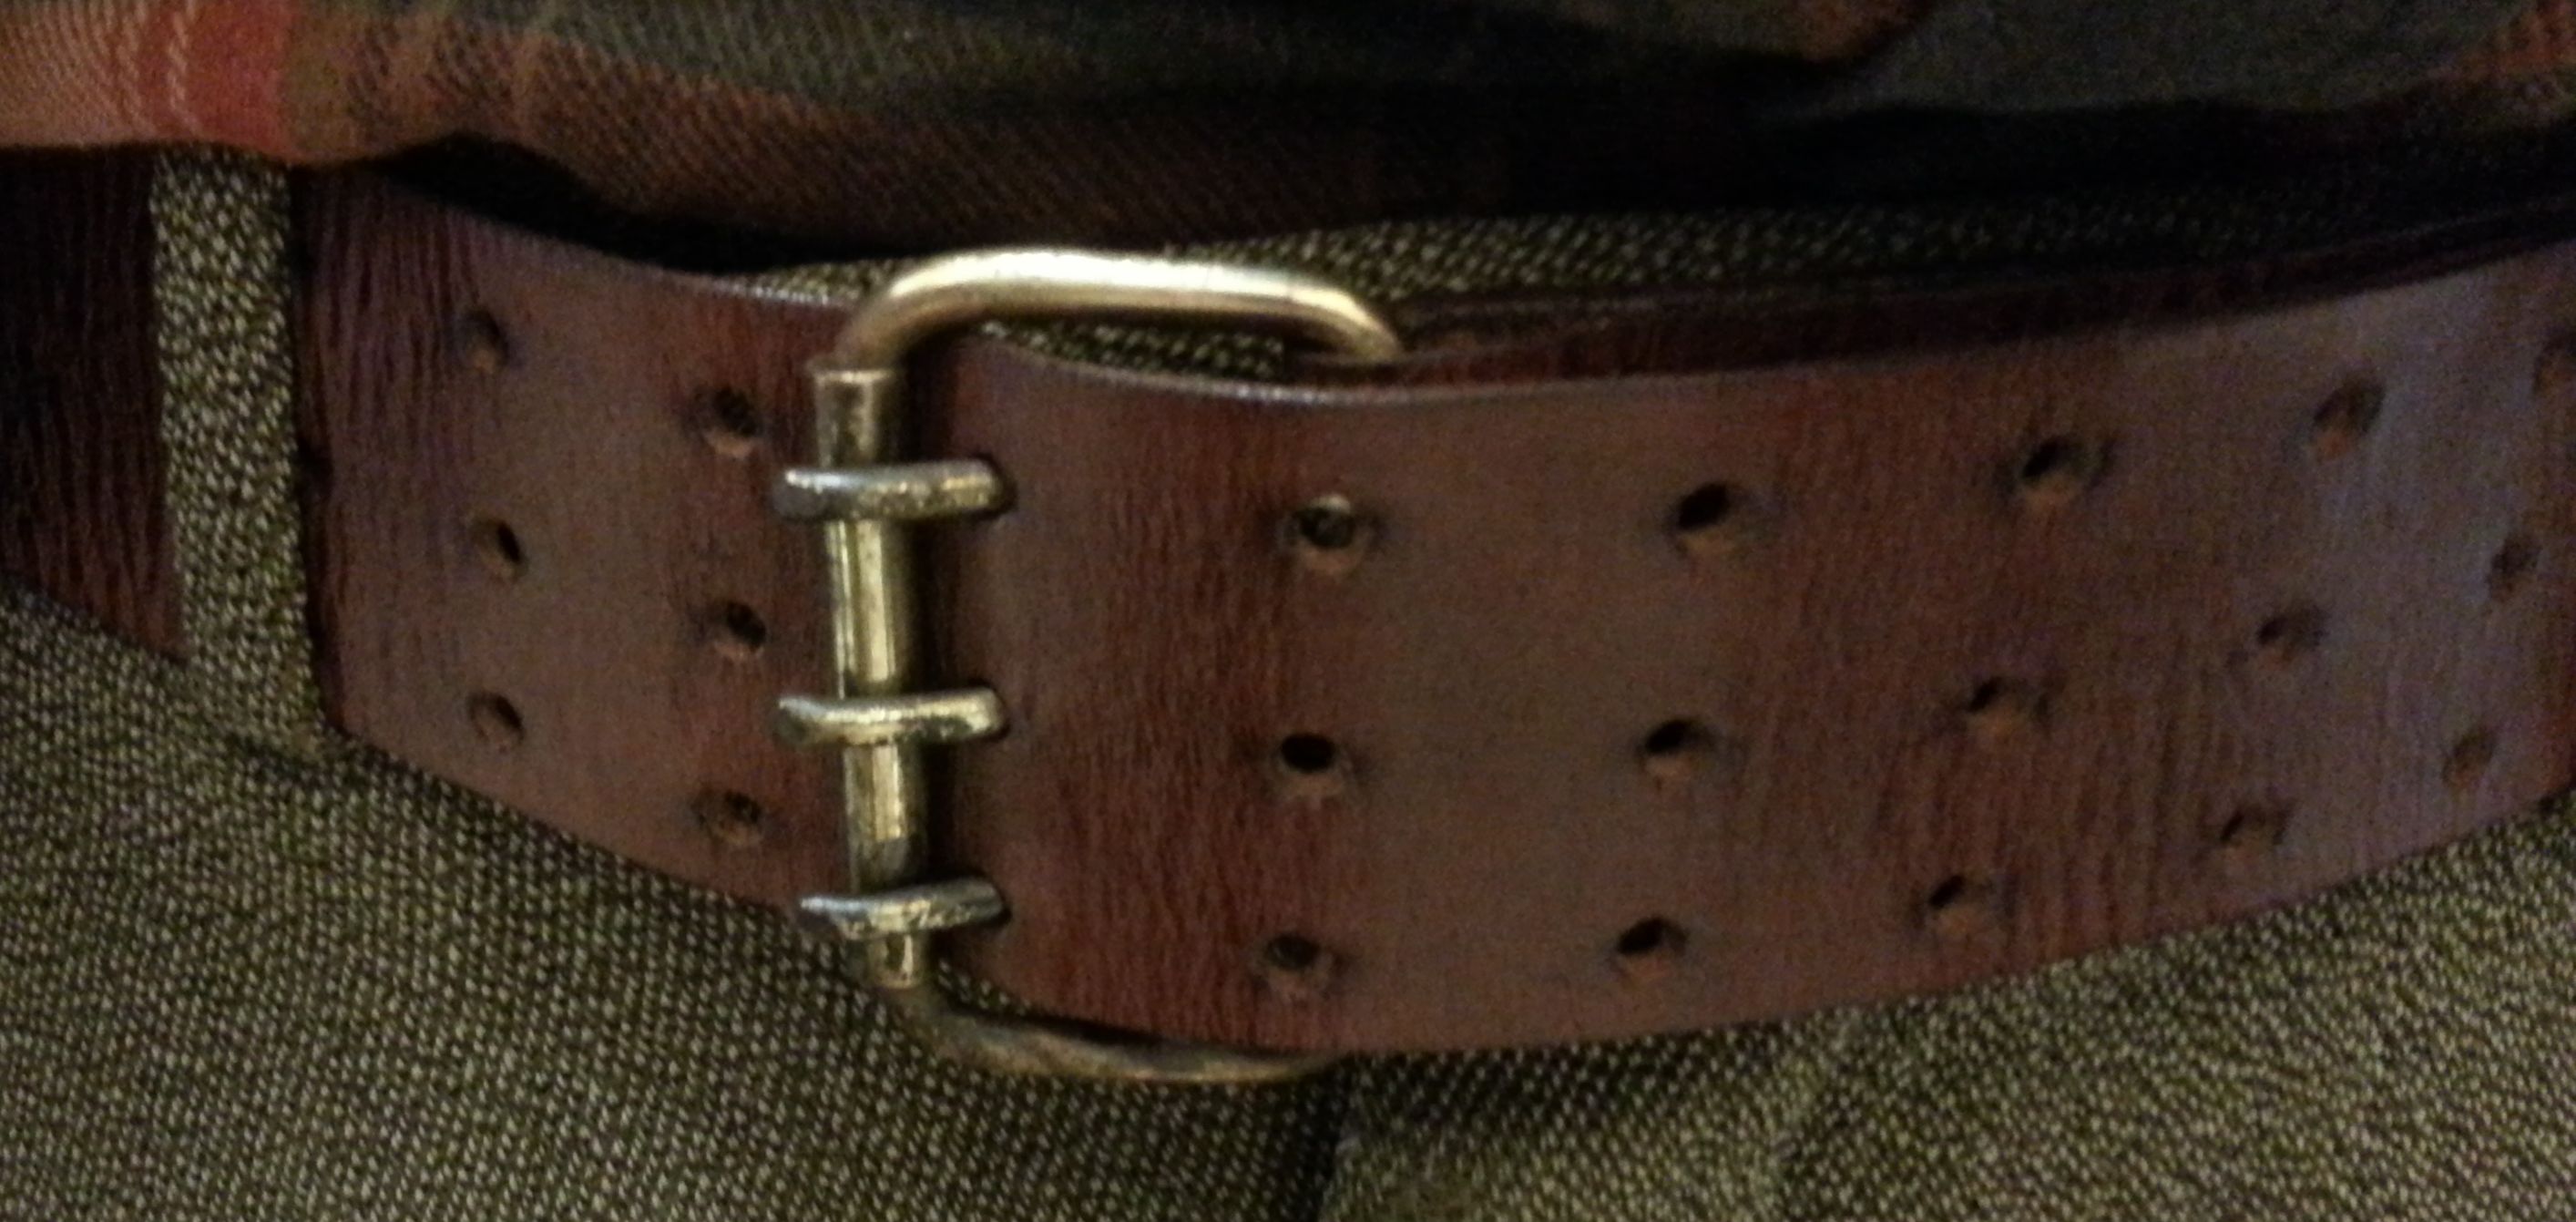
A not-too-common 3-prong buckle belt (although, apparently, made for Hans Solo cosplayers) - couldn't find anything like, so I made my own.
Had a chunk of leather laying around so I sliced off a strip and it became a close colour with Dark Tan boot polish.
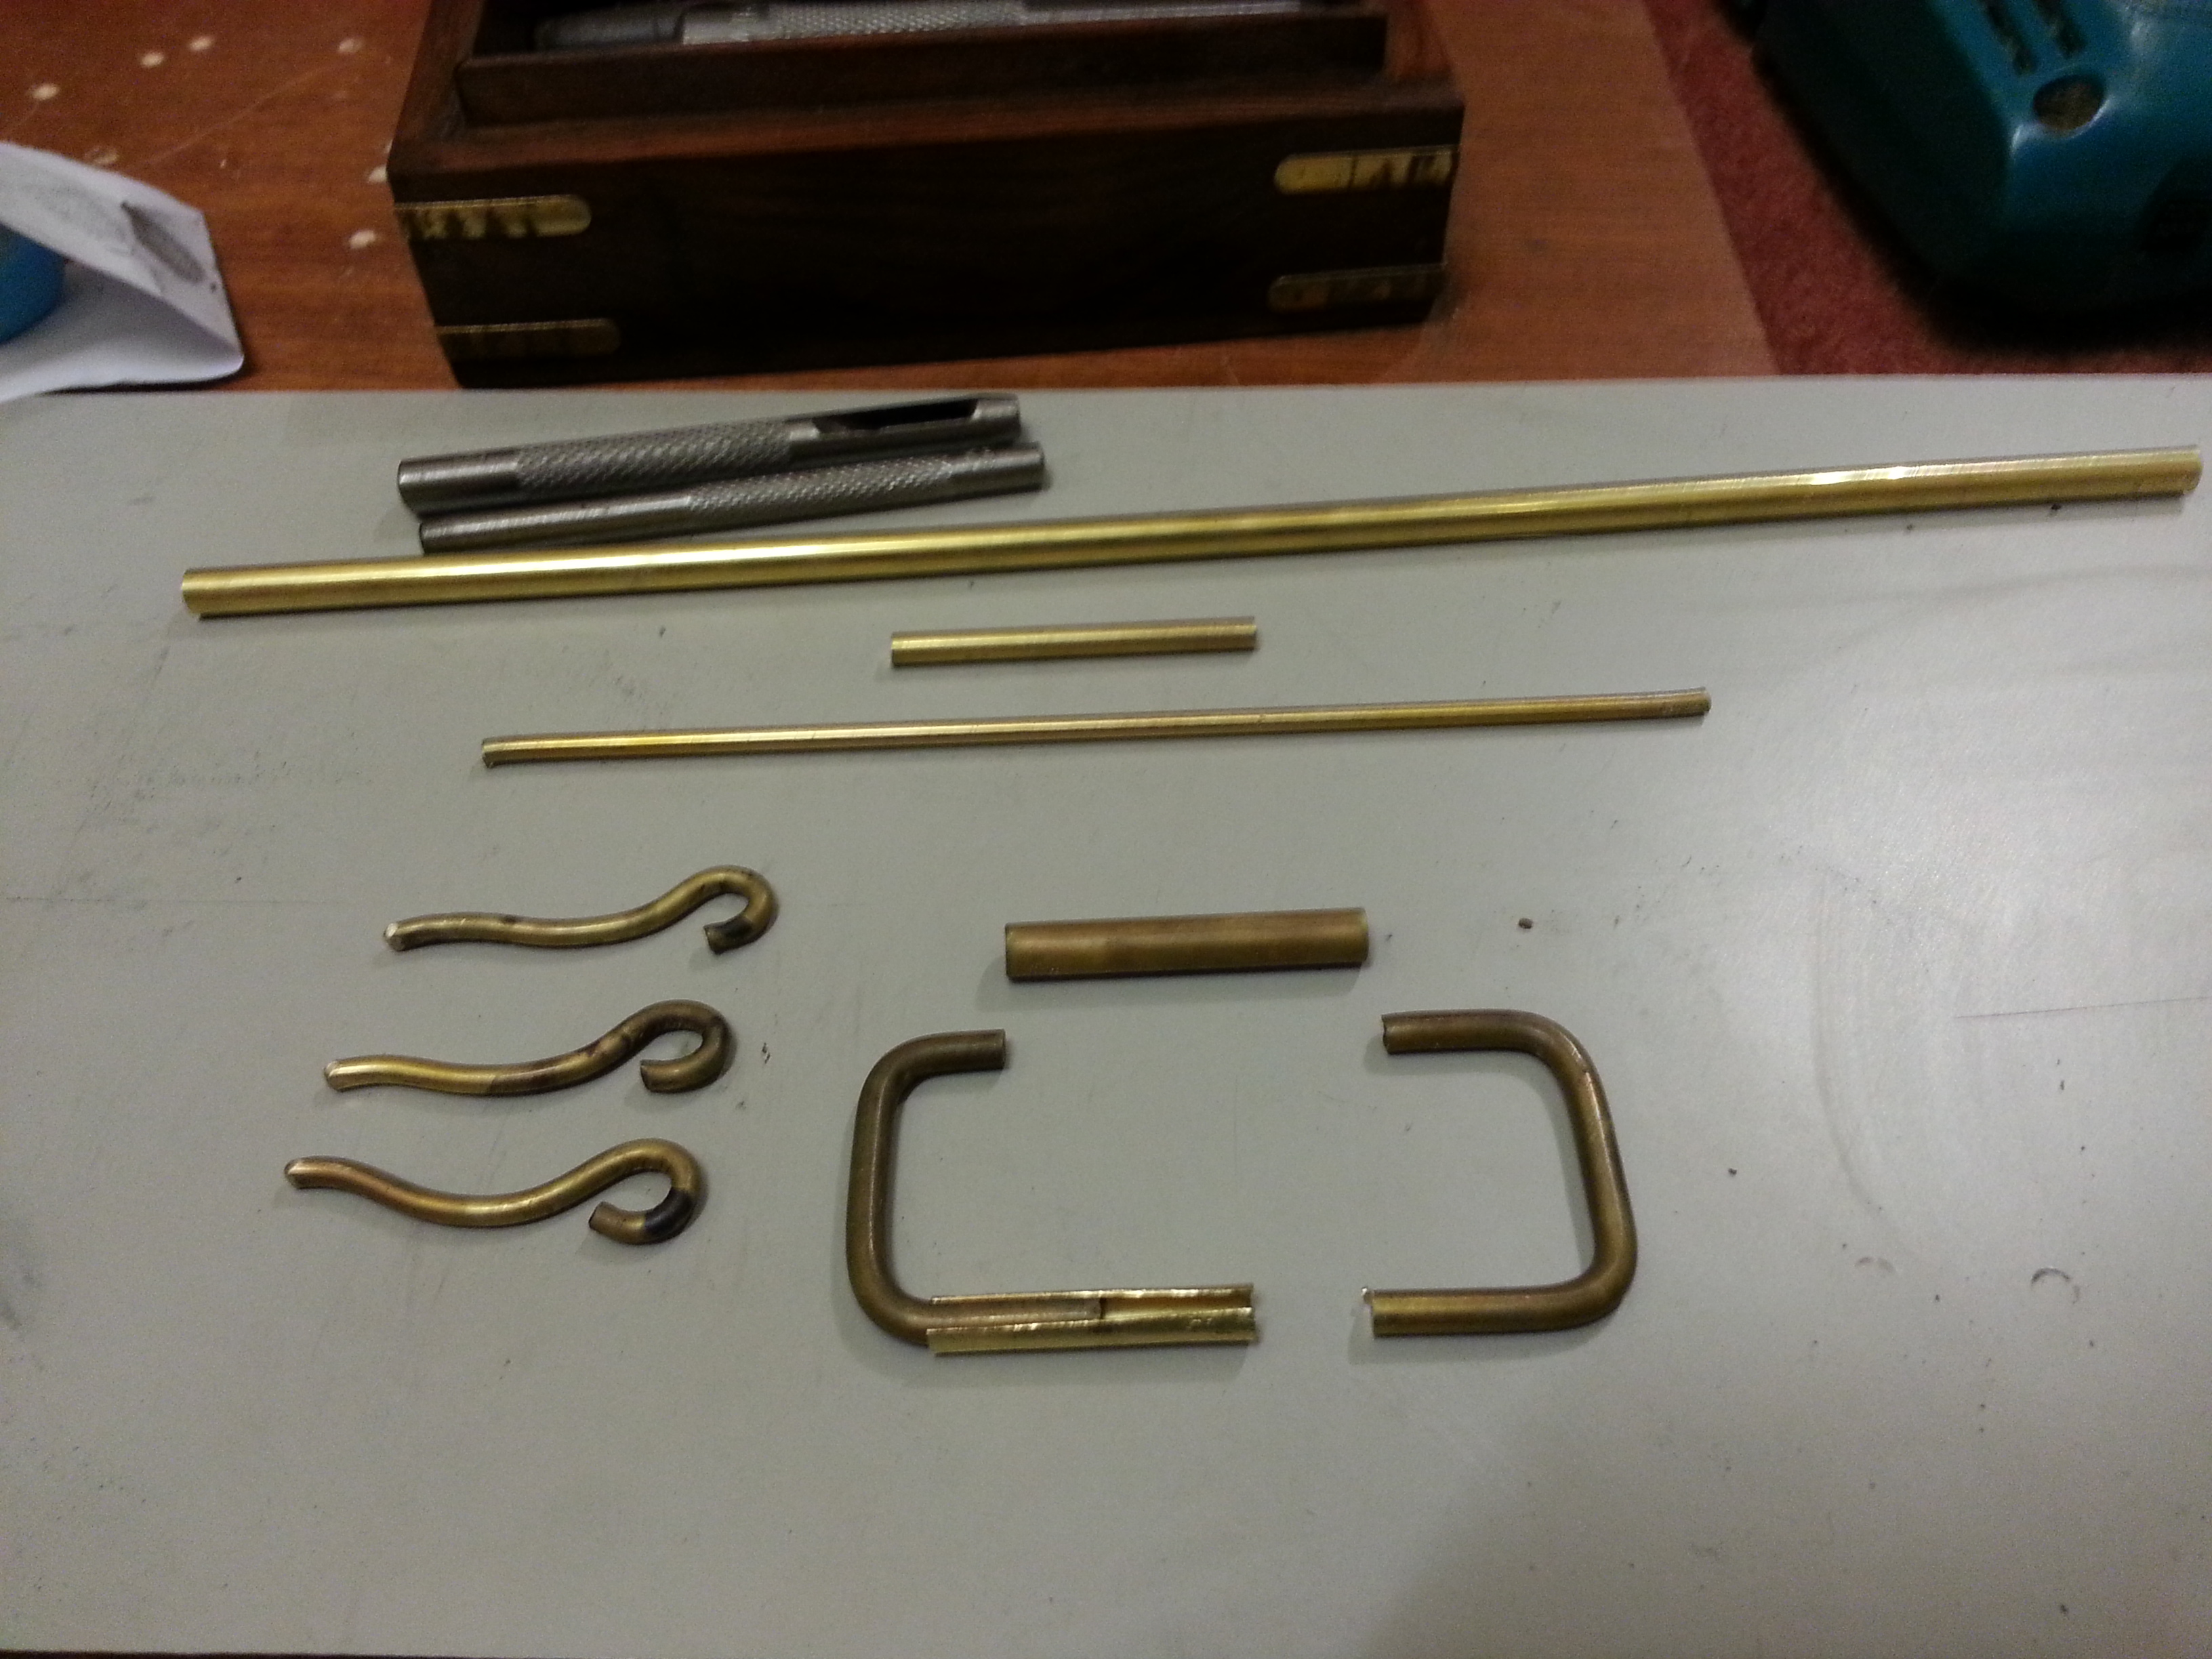
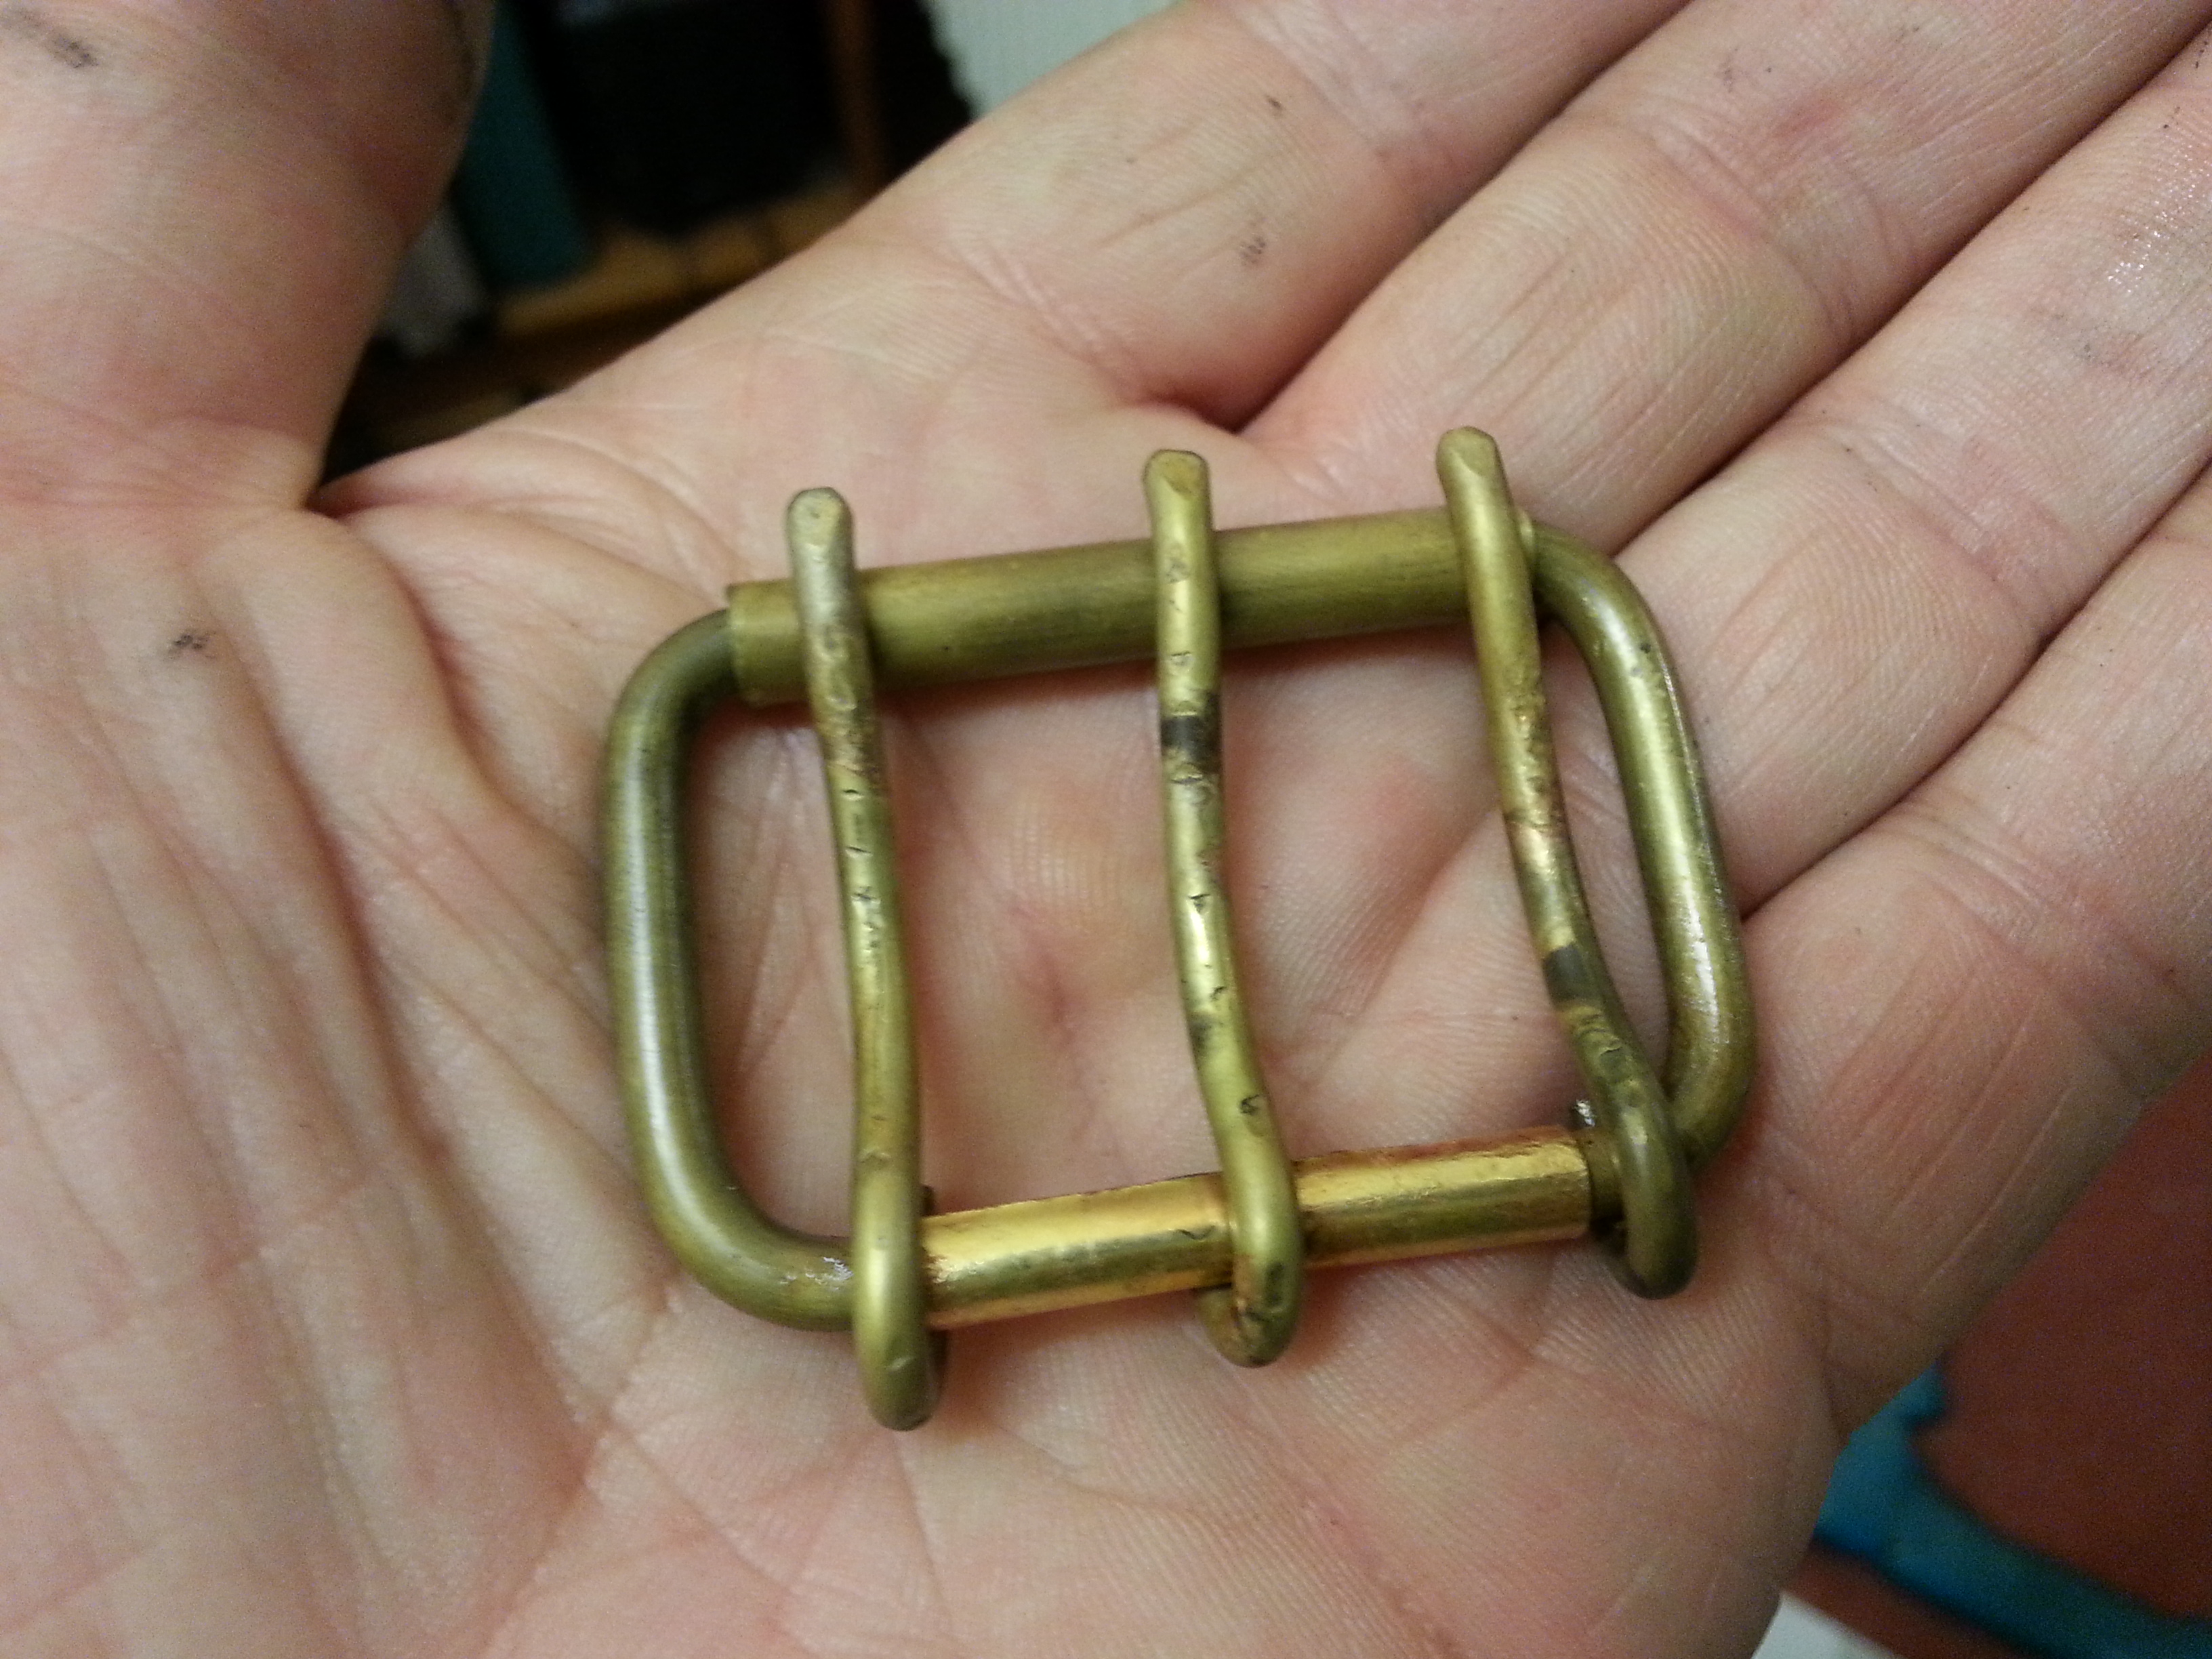
The buckle I made from brass rod, 4mm dia for the outer bit and 3mm for the prongs. Also got a bit of 5mm o.d. brass tube to make the roller bit.
Have a look at the picture... a bit of the tube was sliced and crimped a bit with pliers to join the two halves of the main buckle bit
and then soldered it on with the rolling bit of tube on the other side.
Big note here... you can't cold-bend brass! Heat it up to lots of degrees (nearly glowing)
with a blowlamp and then it bends easily - good thing about this is it also takes the brand-new shine off it.
The finished belt... the buckle's still a bit too shiny I think and the leather probably needs more extreme bending to really get the creases in
Note: what seems to help is polishing the leather with Dark Tan shoe polish and really buffing it up
to a good shine then bend the belt shiny-to-shiny and press it down all the way along, when it's straightened out it
has all those nice creases.
Colouring and ageing leather
This is how I ended up colouring the leather for the belt and strap for attaching the bandolier.
I know you can get all sorts of special leather dyes and gum to harden the edges and so on,
but I thought you should be able to get good-enough results with stuff I already had. And so...
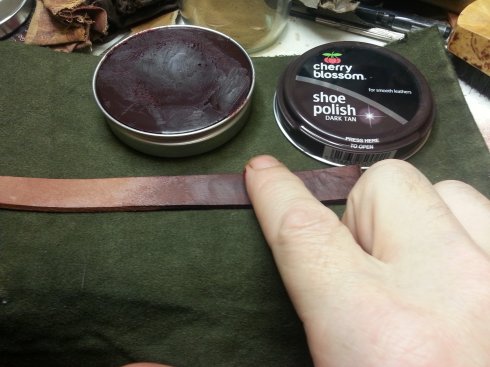
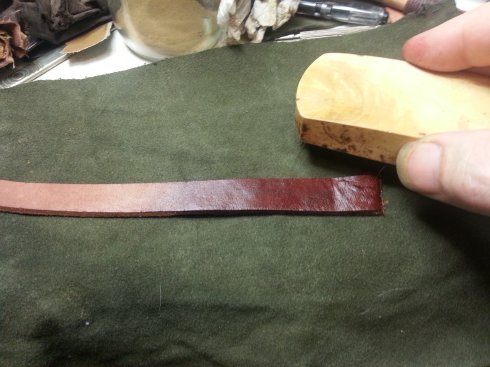
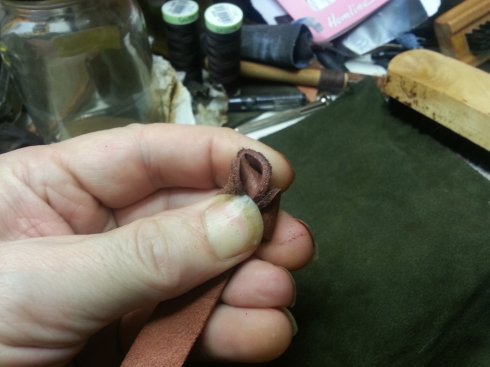
Work in some Dark Tan boot polish with your finger, really press it in and rub it until it dries up. I also put a bit of black on the edges.
Polish it up with a brush. For best results you should leave the polish to dry/harden for 1/2hr before giving it a final buff-up.
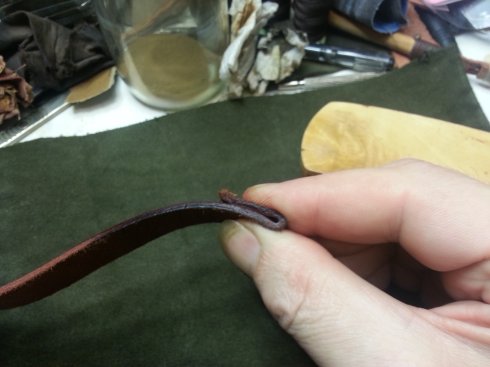
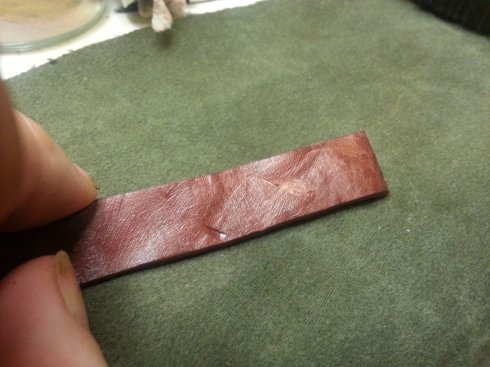
Bend the strap shiny-to-shiny and squeeze it hard
The result is a creased mark in the polished surface
Do this creasing for the entire length
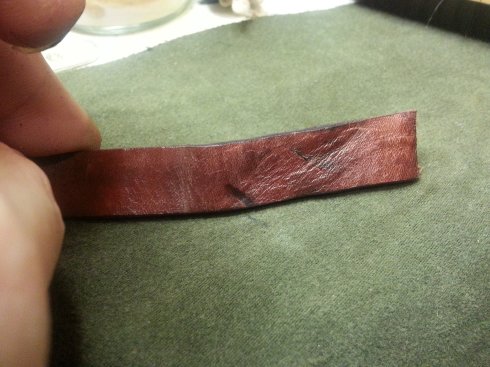
Give it a bit of a brush up again and leave it for a while to 'set'.
Again, if you leave it for a while the polish sets harder and you get better 'cracking'
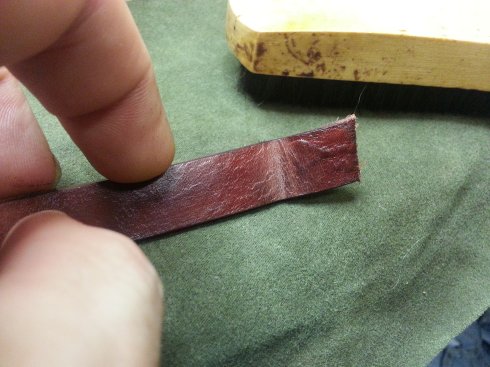
Really scrunch it up, twist it, bend it a lot. Hit it with hammers, stand on it.
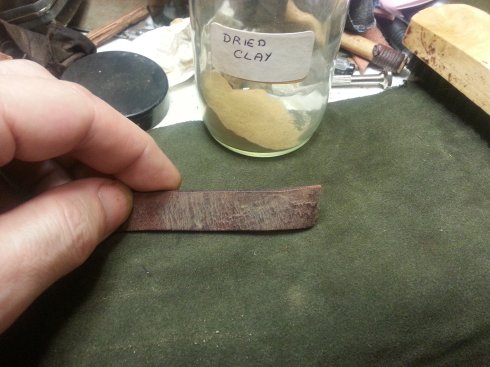
Here I've hit it with a bit of metal and scraped a bit with a knife as an example
Smeared a tiny amount of black boot polish in the damaged bits and polished it up.
Note: black polish goes a long way, so don't use too much - unless you want it really dark of course.
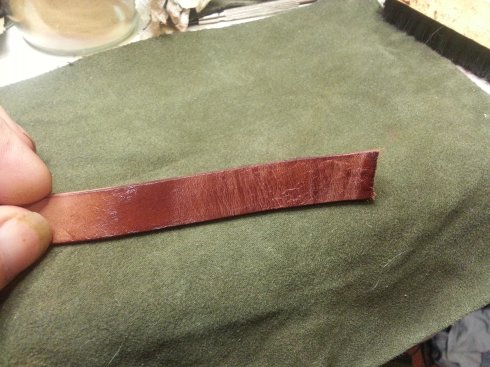
To make it look less shiny and dusty, I rubbed in some powdered clay
(actually a chunk of yellow clay dug up from the garden, dried and ground up!)
Then lightly brushed over the top.
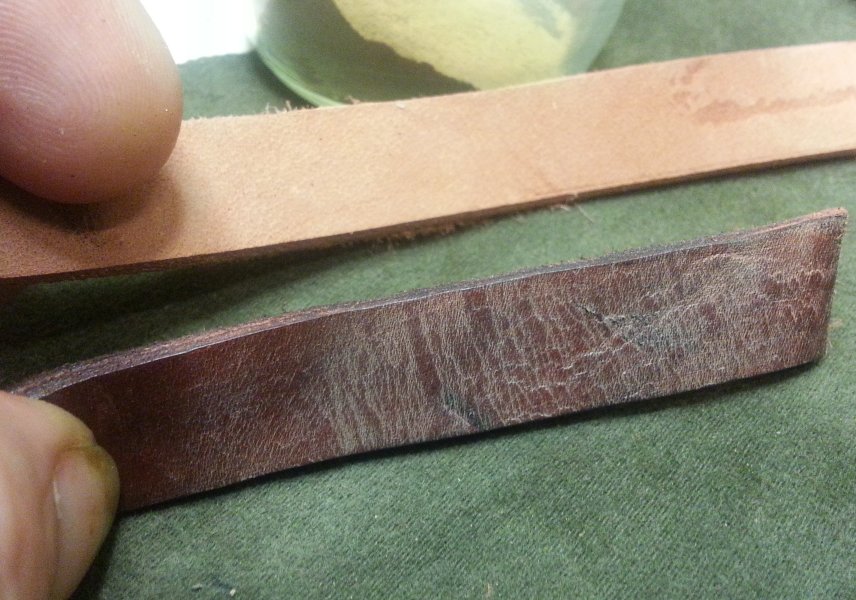
Here's a comparison of the original strip and the coloured/distressed piece.
Start-to-finish doing this example piece took 3/4hr including taking the photos and
writing this web page. When I did the actual belt, I left it overnight between
a couple of coats of polish and then creasing/distressing.
Also see:
how I made the bandolier